

7 Mistakes You're Making with Bespoke Shower Screens (and How to Fix Them Before Handover)
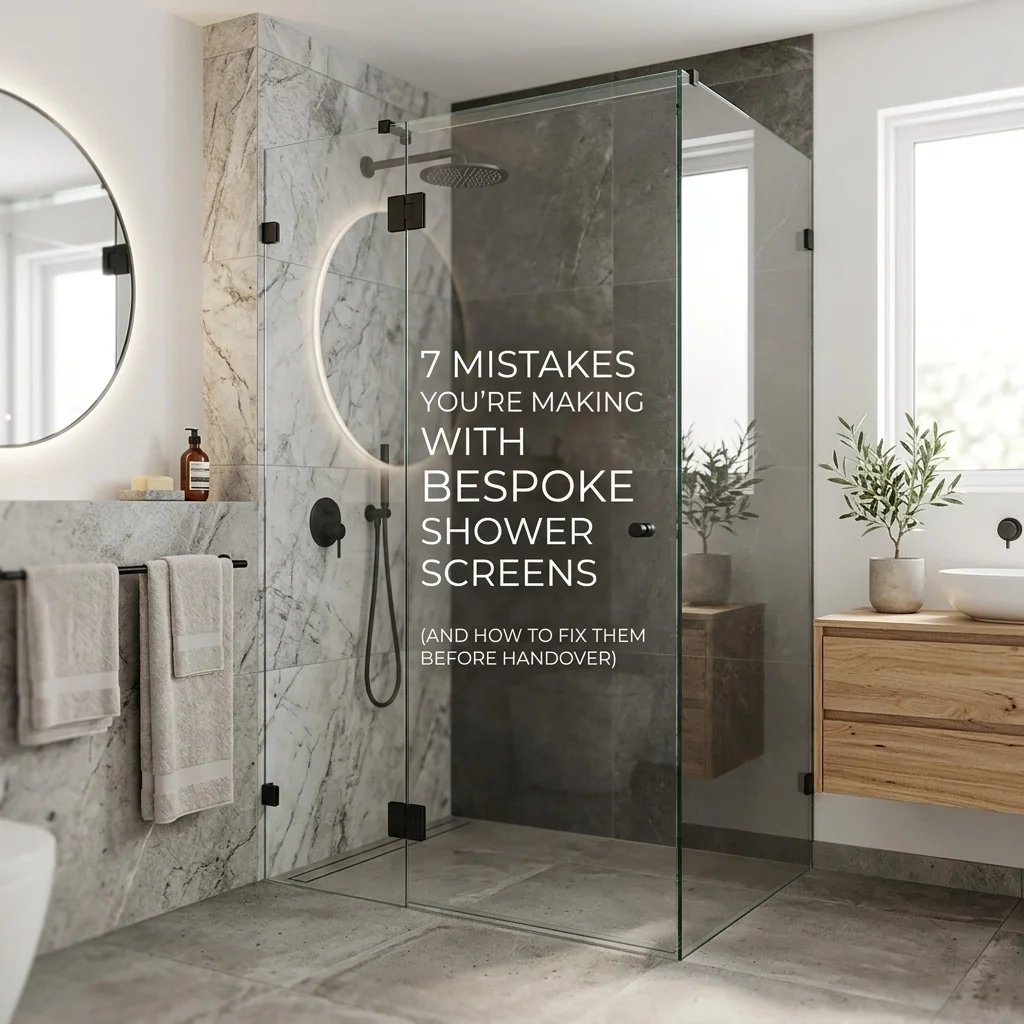
Handover day is the ultimate litmus test for a commercial builder. You’ve managed the trades, balanced the budget, and pushed through the variations. But as any seasoned site manager knows, it’s often the finishing touches: the high-visibility items like bespoke shower screens: that can either seal the deal or trigger a frustrating list of defects.
In the luxury residential and commercial sectors on the Gold Coast, "standard" doesn't cut it anymore. Clients want floor-to-ceiling glass, minimalist hardware, and bespoke aluminium features that blend seamlessly with high-end tiling. However, the more "bespoke" a design becomes, the less margin there is for error.
At Raptor Glass & Aluminium, we see the same avoidable mistakes cropping up across sites. These aren't just aesthetic gripes; they are compliance risks and structural failures waiting to happen. Here are the seven most common mistakes you’re likely making with your shower screen installations and exactly how to fix them before the client does the final walk-through.
1. Measuring Before the Substrate is Truly "Final"
The biggest mistake in bespoke glazing happens before the glass is even ordered. In a high-end build, a few millimetres of "out-of-plumb" wall can ruin a frameless installation. Many builders call for check-measures while the tiler is still finishing off or, worse, based on the architectural plans rather than the "as-built" reality.
The Fix: Never order bespoke glass until the tiling and grouting are 100% complete. Bespoke glass is toughened; once it’s cut and cooked, there is zero room for adjustment.
Ensure your glazier uses digital laser levels to check for "belly" in the walls and slopes in the floor. If a wall is out by more than 5mm over a 2-metre span, a standard rectangular panel will leave a tapering gap that silicone can’t elegantly hide. Demand a rake-cut panel that mirrors the wall's imperfection for a true millimetre-perfect fit.
2. Neglecting Structural Blocking Behind the Tiles
We’re seeing a trend toward heavier, thicker glass: 10mm and 12mm toughened panels are now the baseline for quality. A standard 2100mm x 900mm panel of 10mm glass weighs roughly 45kg. If you’re hanging a heavy glass door off a wall with hinges, standard wall plugs into a single sheet of villa board aren't going to cut it.
The Fix: This is a pre-sheet fix. You must ensure there is solid timber blocking (noggings) or double-studs exactly where the hinges and wall brackets will be located.
Don't leave it to chance. Mark the hinge heights on your framing plans. If you’ve missed this stage and the tiles are already up, you may need to pivot to a header-style system or a floor-to-ceiling pivot to take the weight off the wall, but this often compromises the "frameless" look the client paid for.
3. Designing for Aesthetics, Ignoring Water Logic
A common "architectural" mistake is placing the showerhead directly opposite a door seam or a fixed panel gap. No matter how good the seal is, high-pressure water hitting a pivot point or a 3mm glass-to-glass gap will result in a wet bathroom floor.
The Fix: Review the plumbing layout against the shower screen design early. If the showerhead is fixed, aim it toward a solid glass panel or a tiled wall.
Additionally, check the "fall" of the floor. If the tiler hasn't created a sufficient grade toward the waste, water will pool against the bottom of the glass. Before handover, run a "flood test." If water sits under the door, you may need to install a low-profile aluminium water bar. It’s better to suggest this as a functional feature now than to have a client complain about a flooded vanity a week after moving in.
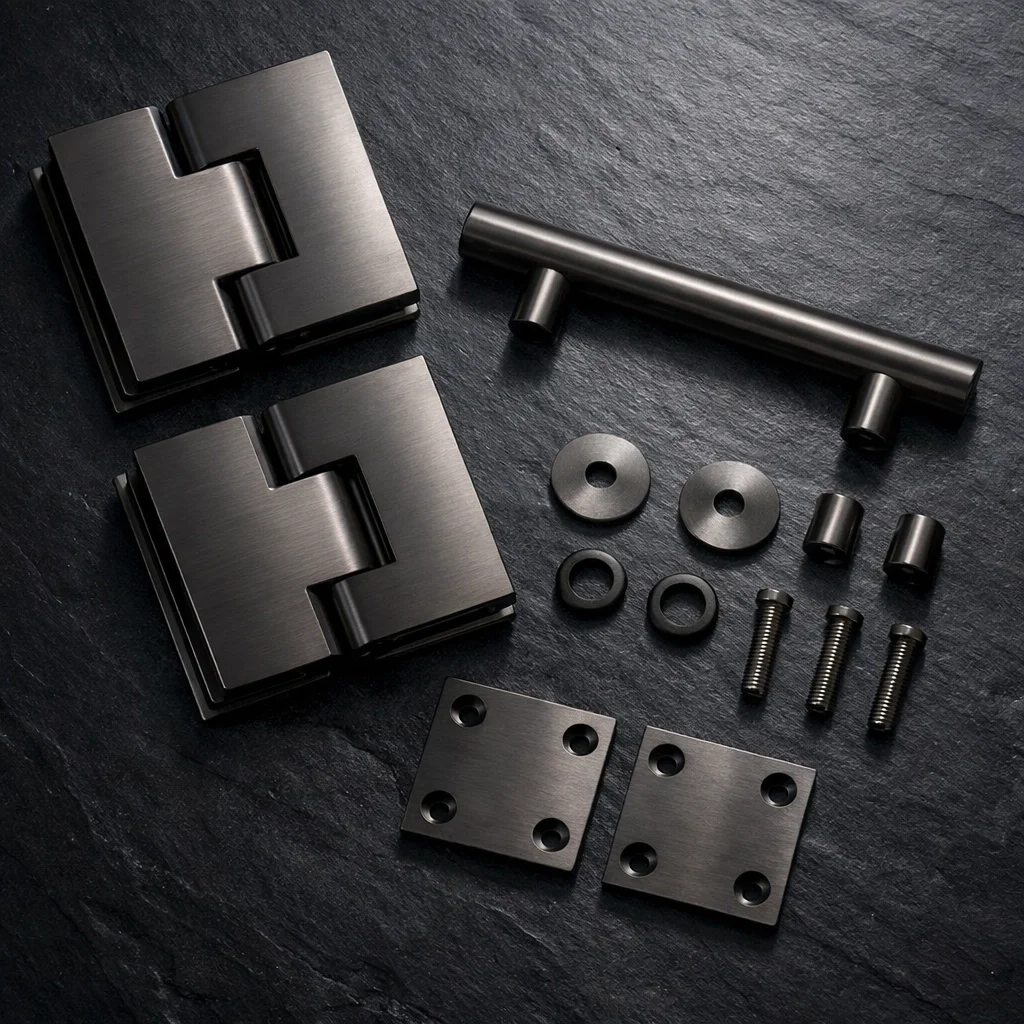
4. Inconsistent Hardware Finishes
Nothing screams "poorly managed project" like a bathroom where the tapware is brushed nickel, the floor waste is chrome, and the shower screen hinges are "sort-of-silver." In the world of bespoke aluminium features, finish consistency is king.
The Fix: Specify the exact finish code for your glazing hardware to match your bathroom fixtures. At Raptor Glass & Aluminium, we often coordinate directly with the plumbing suppliers to ensure the PVD (Physical Vapour Deposition) or powder-coat finishes are identical. If you’re using custom-coloured frames or channels, get a sample piece and hold it against the tapware in natural light before the final install.
5. Non-Compliance with AS 1288 Standards
With the updates to the National Construction Code (NCC), compliance around glass in "wet areas" has become more stringent. Using the wrong type of glass or insufficient thickness for the span isn't just a mistake: it’s a legal liability.
The Fix: Ensure every panel installed has the visible (but discreet) toughened glass stamp and that you receive a Certificate of Compliance for every unit. For bespoke commercial builds, we recommend 10mm toughened glass as the minimum for structural integrity and "heft."
If you are working on a high-rise or a multi-residential project, check the wind load and human impact requirements. If a panel is over a certain size, it might require heat-soaking to prevent spontaneous breakage: a rare but real risk with toughened glass.
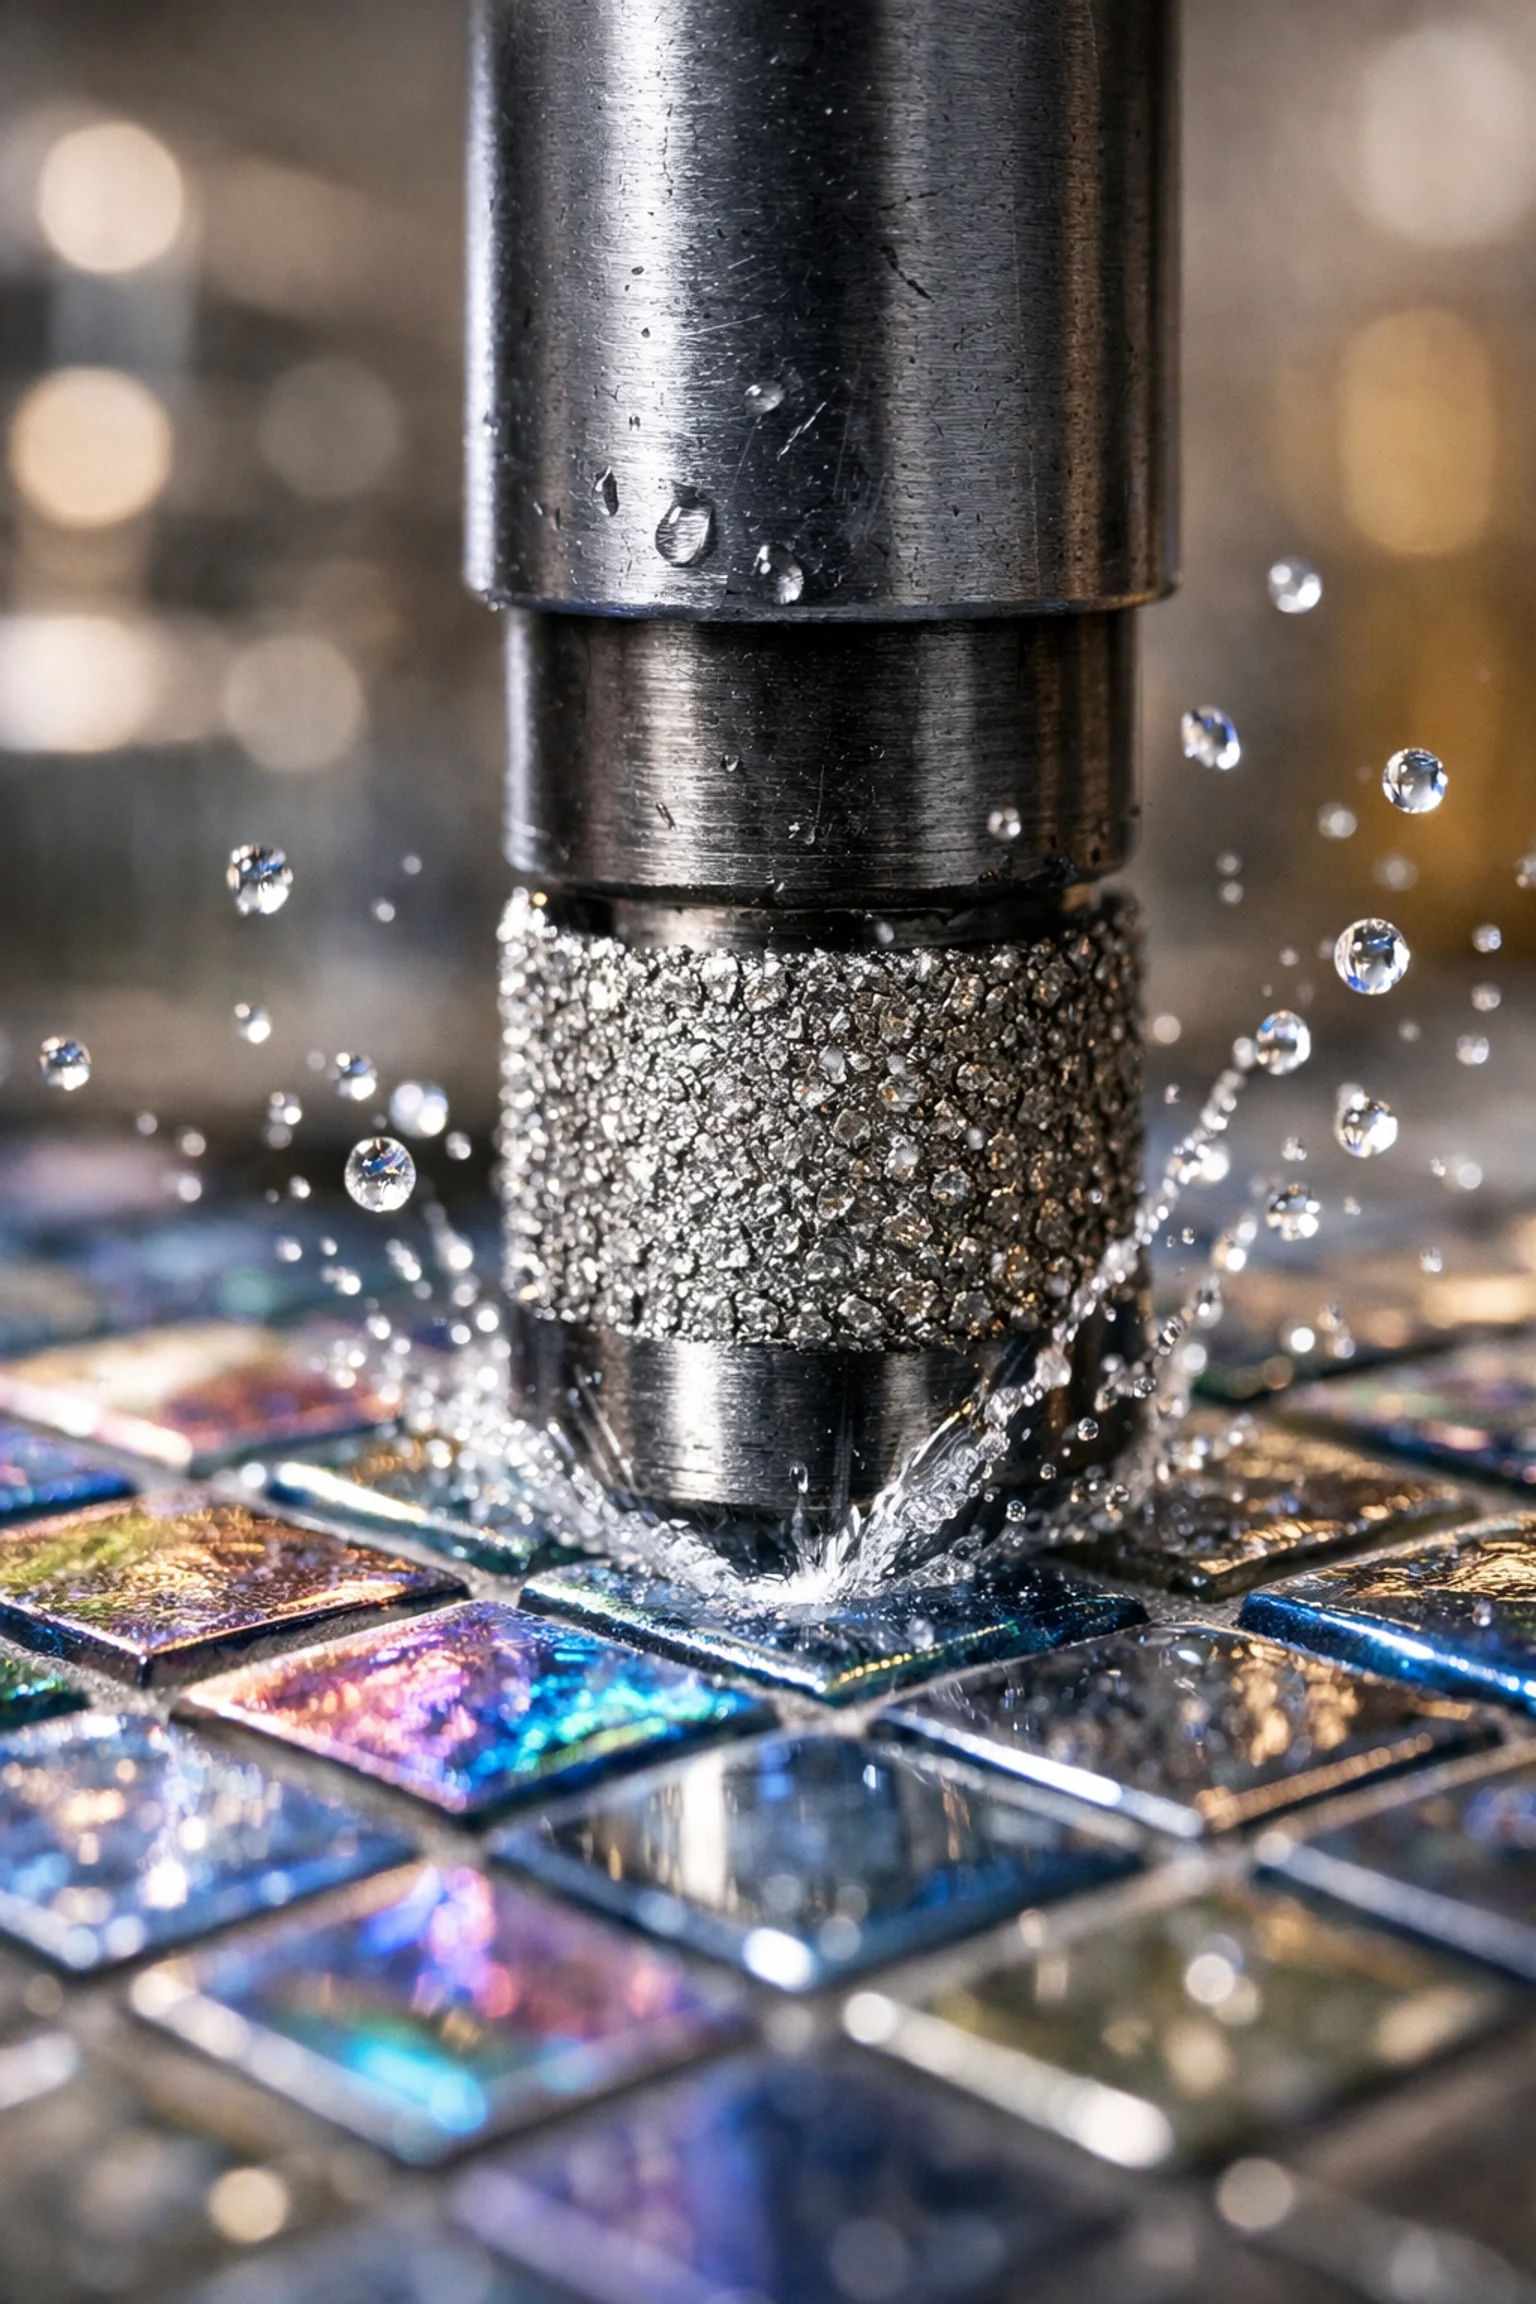
6. Drilling into Glass Tiles or Delicate Mosaics
Bespoke bathrooms often feature intricate glass mosaics or brittle porcelain tiles. If your glazier treats these like standard ceramic tiles, they will crack the substrate when drilling for brackets. A cracked tile behind a finished shower screen is a nightmare to replace.
The Fix: Communication is key. Inform your glazing partner about the tile material. For glass or high-end porcelain, specific diamond-tipped core drills and cooling methods are required.
Even better, where possible, design the screen to be "channel-fixed" into the grout lines or recessed into the tiling during the sub-floor stage. This creates the ultimate "floating glass" look and removes the need for mechanical wall fixings altogether.
7. Rushed Sealants and Poor Silicone Work
You can have the most expensive glass and the finest hardware, but if the silicone work looks like it was done by an apprentice in the dark, the whole job looks cheap. Rushed caulking often leads to "mold traps" and leaks within the first six months.
The Fix: Use a high-quality, neutral-cure, anti-fungal silicone. Avoid "vinegar-smelling" acid-cure silicones, as they can react with certain hardware finishes and stone tiles.
The secret to a high-end handover is "less is more." If the glass is measured correctly (see Mistake #1), you only need a tiny bead of silicone. If you’re using a lot of silicone to bridge a gap, your measurements were wrong. Clean the glass with methylated spirits before applying the sealant to ensure a lifetime bond.
The Bottom Line for Builders
Bespoke shower screens shouldn't be a source of stress at the end of a project. They should be the feature that validates the quality of your build. The difference between a "good enough" job and a high-end, defect-free handover comes down to three things: early planning, precise measurement, and selecting a glazing partner who understands the commercial stakes.
By addressing the structural support early, ensuring your measurements reflect the finished tile, and insisting on hardware consistency, you eliminate 90% of the common handover headaches.
If you’re currently planning a commercial project or a high-end residential build on the Gold Coast, don’t leave the glazing to the last minute. Get the experts involved while the studs are still exposed.
Ready to upgrade your glazing strategy? Contact us at Raptor Glass & Aluminium today. From balustrades to bespoke shower enclosures, we deliver the precision your project deserves.
